Set up and keep track of your Guided Interview.
The About Tab includes several options for entering basic information about your A2J Guided Interview®. This tab primarily serves as a place where you can keep track of notes regarding the purpose and history of the Guided Interview. This screen is also where the following preferences are set: language, avatar skin color, avatar guide gender, send feedback, end graphic, branding logo, revision history, and author information.
Information About The A2J Guided Interview
The following eighteen fields under the About Tab provide opportunities to include informative metadata in your A2J Guided Interview®: Title, Description, Jurisdiction, Language, Avatar, Guide Gender, Credits, Approximate Completion Time, Logo Graphic, End Graphic, Mobile Friendly, Feedback, Current Version, Revision Notes, Author’s Name, Author’s Title, Author’s Organization, and Author’s Email (see Figure 16, next page).
Title
The Title field collects the name of your Guided Interview. The default setting for this field is “My Interview (date created).” It is important to change this entry. If you do not change it, then “My Interview” will be the file name upon auto saving the Guided Interview. In order to keep your Guided Interviews organized and distinct in the Interviews tab, you should rename your title.
Decide on a naming convention and stick to it. Make the name detailed. Example: “Adult Name Change for Cook County – Draft 01-2008,” “Minor Name Change for DuPage County – Final 02-2008.”
Description
The Description field collects any descriptive information you choose to include for reference. The default setting for this field is “This is a description of my interview.” This information only appears in the About tab when the Guided Interview is open and in any Full Reports generated under the Report tab. Often authors will choose to include information that indicates how other similar Guided Interviews are distinguished. For instance, if you have designed two Guided Interviews that compile data for Name Change forms, where one is for adult name changes and the other, for minors; then you may wish to include that distinguishing characteristic in the description of your Guided Interview.
Jurisdiction
The Jurisdiction field collects descriptive information regarding the jurisdiction addressed by the Guided Interview. The default setting for this field is “Jurisdiction of my interview.” Similar to the Description field, the information only appears in the About tab when the Guided Interview is open and in any Full Reports generated under the Report tab.
As many states have not adopted unified forms or procedures, Guided Interviews often need to be individualized by county or other court designation. So, to avoid confusion upon editing or updating, it is a good idea to include jurisdiction information as part of the metadata of the interview.
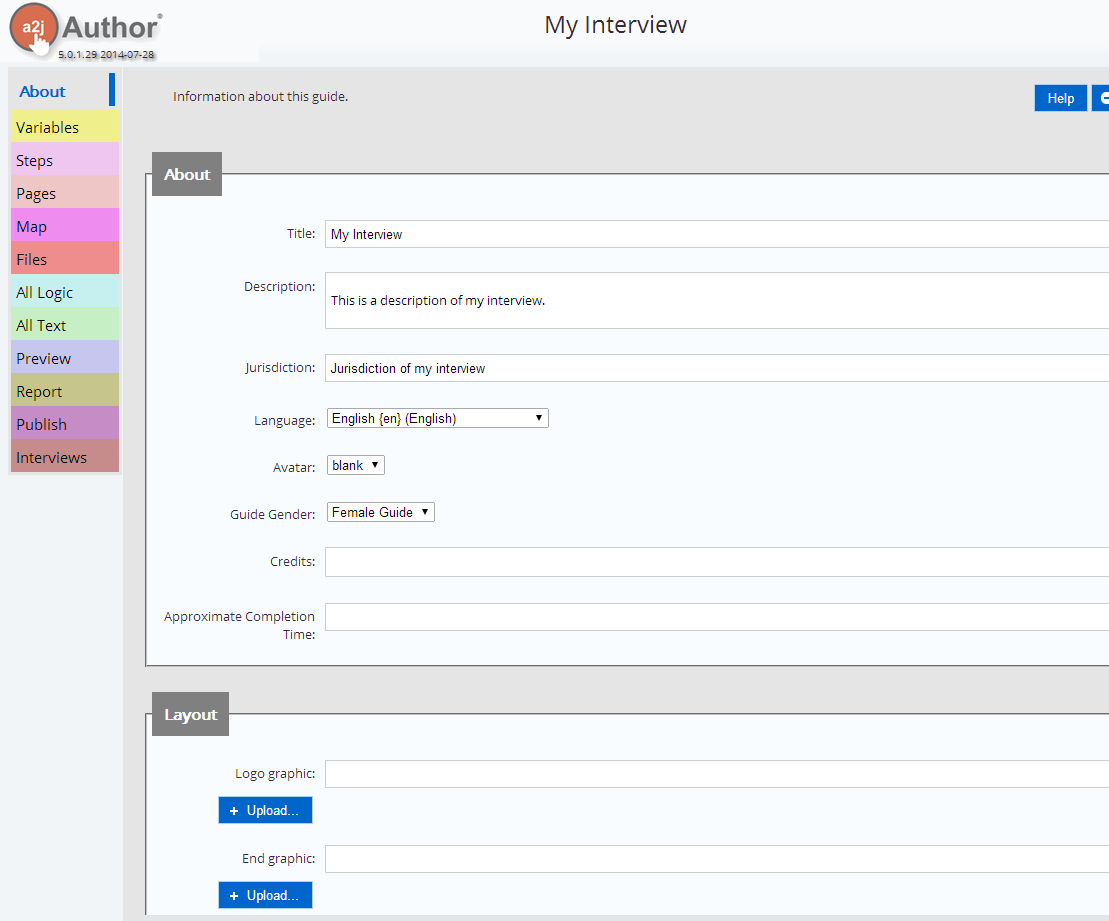
Figure 16: Information fields in the Interview Tab.
Language
Language of the static buttons, which are located in the menu bar across the top of the A2J Guided Interview® interface, can be set to English, Spanish, French, Polish, Vietnamese, Russian, Dutch, Simplified Chinese, and Korean. If you write an A2J Guided Interview® in languages other than English, you can opt to have all static buttons within the interface set to that language. Please note that this selection does not function as a translator. Thus, if you want your questions and just-in-time learning features to appear in a language other than English, you must provide the translations yourself. The following static button selections are translated under the Language setting for the languages as follows:
|
English |
Spanish |
French |
Polish |
Vietnamese |
Simplified Chinese |
Korean |
|
Back |
Anterior |
Retour |
Powrót |
'TRỞ LẠI' |
'返回/上一页' |
'뒤로' |
|
Next |
Siguiente |
Prochain |
Następny |
'TIẾP TỤC' |
'前进/下一页' |
'다음' |
|
My Progress |
Mi Progreso |
Mon Progrés |
Mój postęp |
'TIẾN ĐỘ' |
'我的进度' |
'내 진행 상황' |
|
Sound is on |
Sonido esta encendido |
Audio activé |
Dżwięk włączony |
'MỞ ÂM THANH' |
'打开音效' |
'소리 켜기' |
|
Sound is off |
Sonido esta apagado |
Audio désactivé |
Dźwięk wyłączony |
'TẮT ÂM THANH' |
'关闭音效' |
'소리 끄기' |
|
Send Feedback |
Enviar comentarios |
Envoyer la suggestion |
Wyślij podsumowanie |
'GỬI CÂU TRẢ LỜI' |
'送出回应' |
'피드백 보내기' |
|
Exit |
Salida |
Sortir |
Wyjście |
'Rời khỏi trang' |
'退出' |
'나가기' |
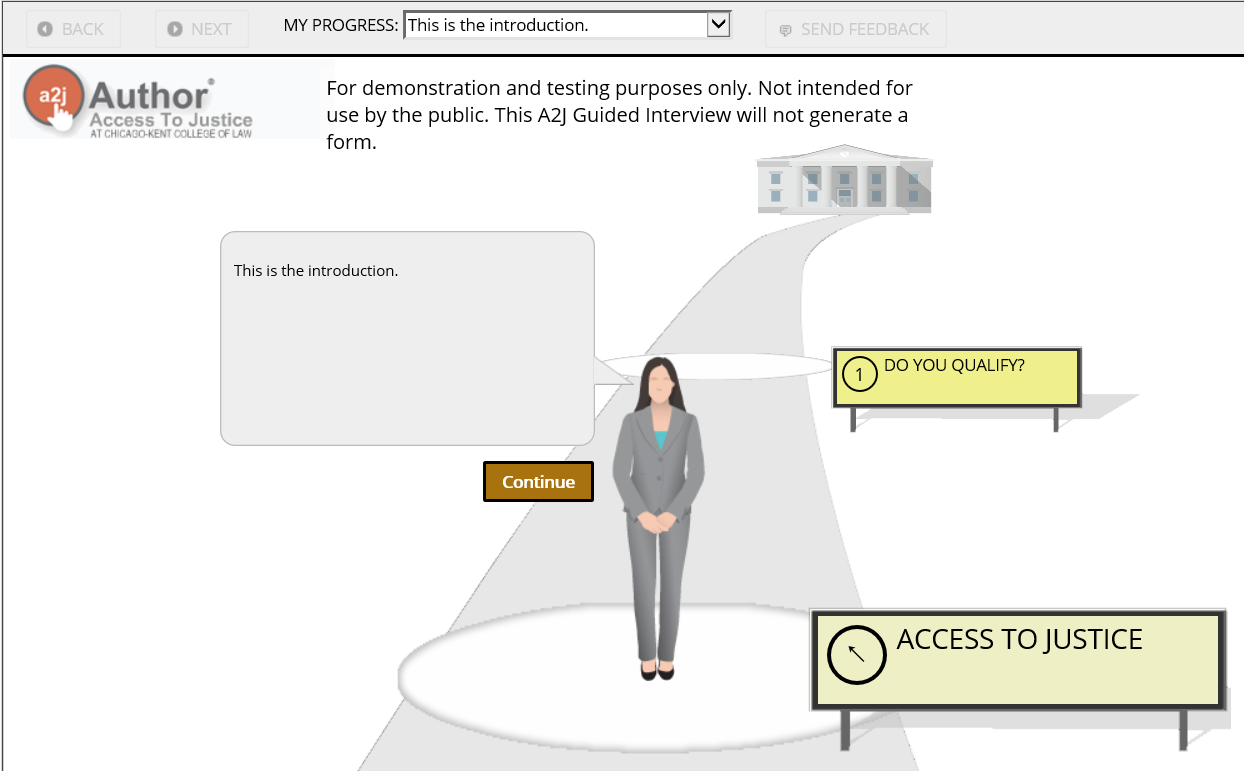
Figure 17: Static buttons are located along the menu bar at the top of the screen.

Figure 18: A2J Guided Interview® with static buttons in Spanish.

Figure 19: A2J Guided Interview® with static buttons in French.
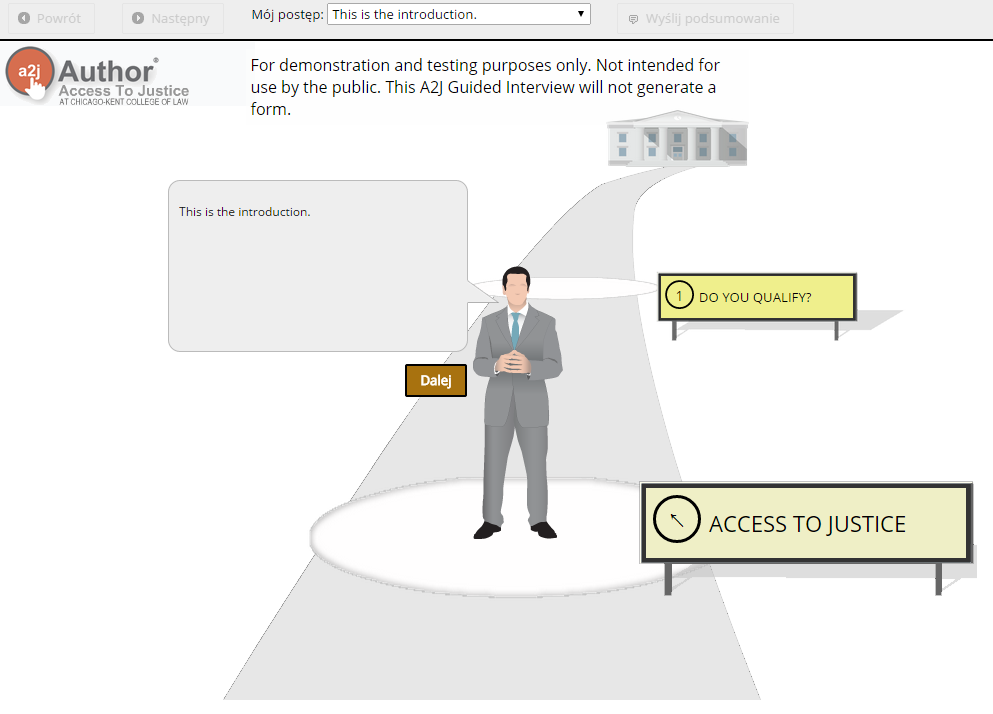
Figure 20: A2J Guided Interview® with static buttons in Polish.
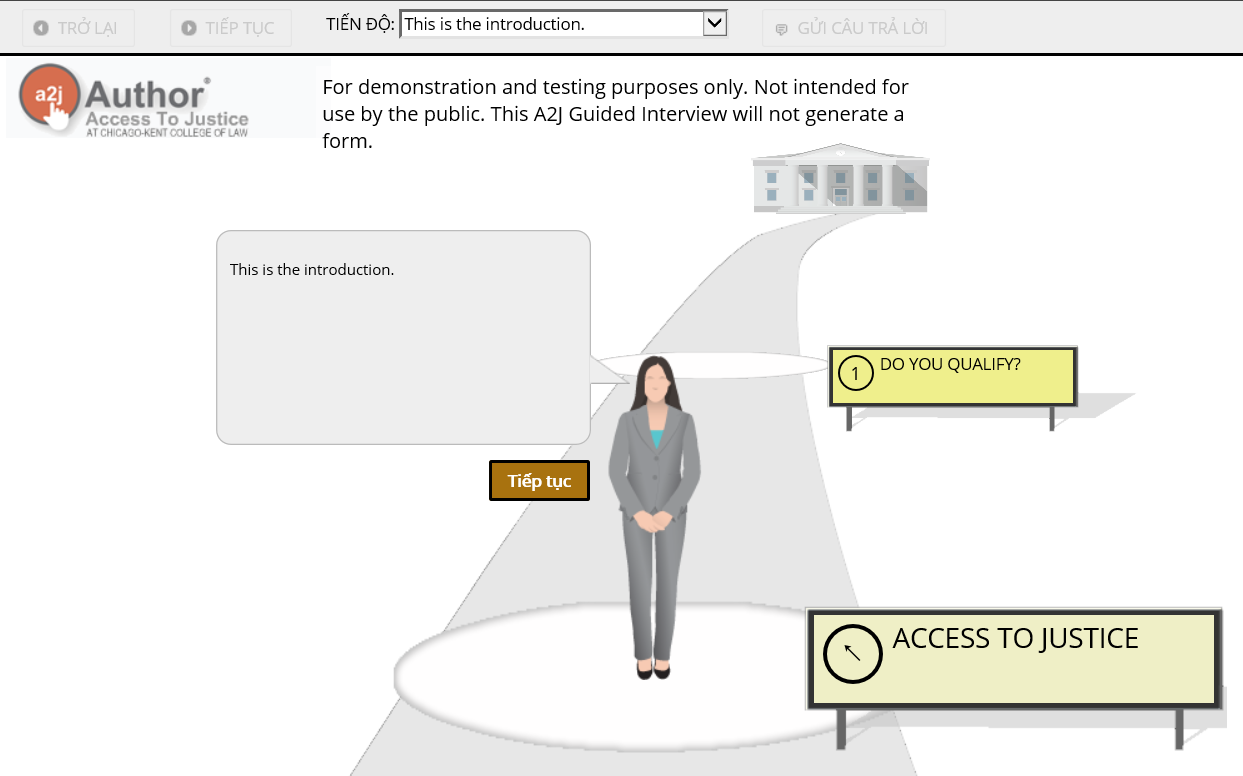
Figure 21: A2J Guided Interview® with static buttons in Vietnamese.

Figure 22: A2J Guided Interview® with static buttons in Russian.

Figure 23: A2J Guided Interview® with static buttons in Dutch.
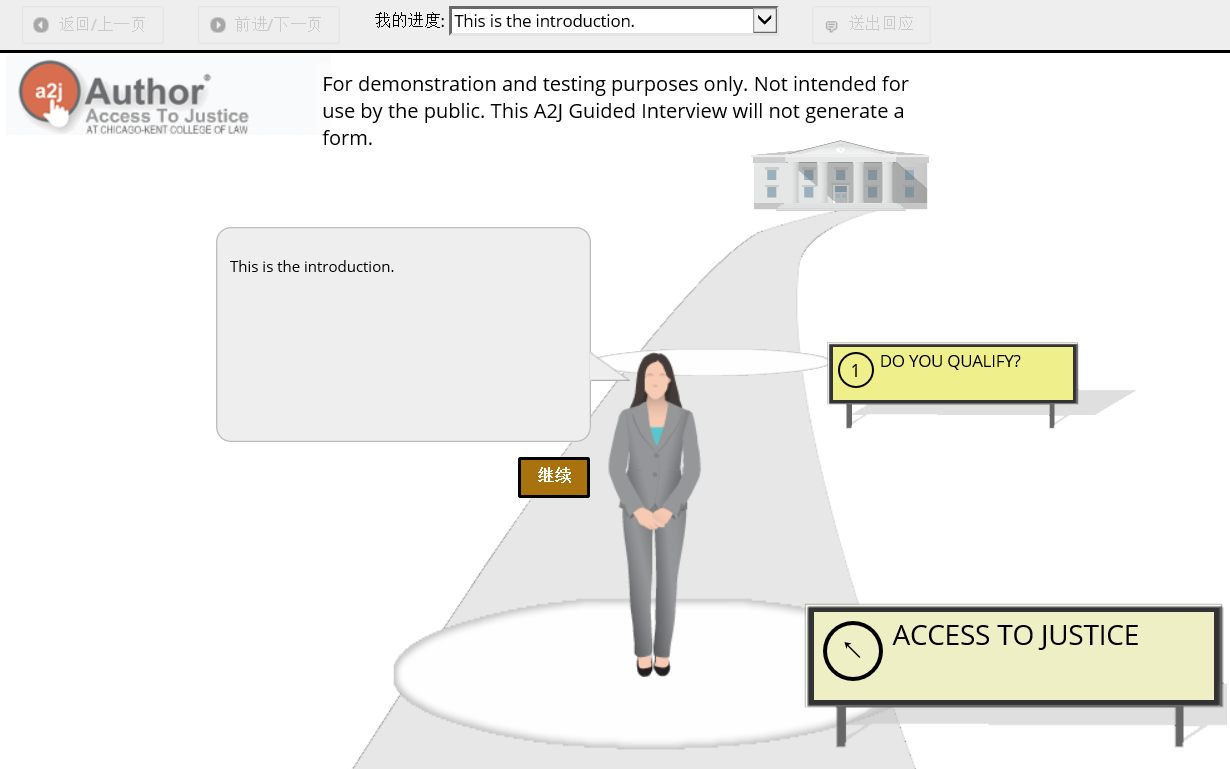
Figure 24: A2J Guided Interview® with static buttons in Simplified Chinese.
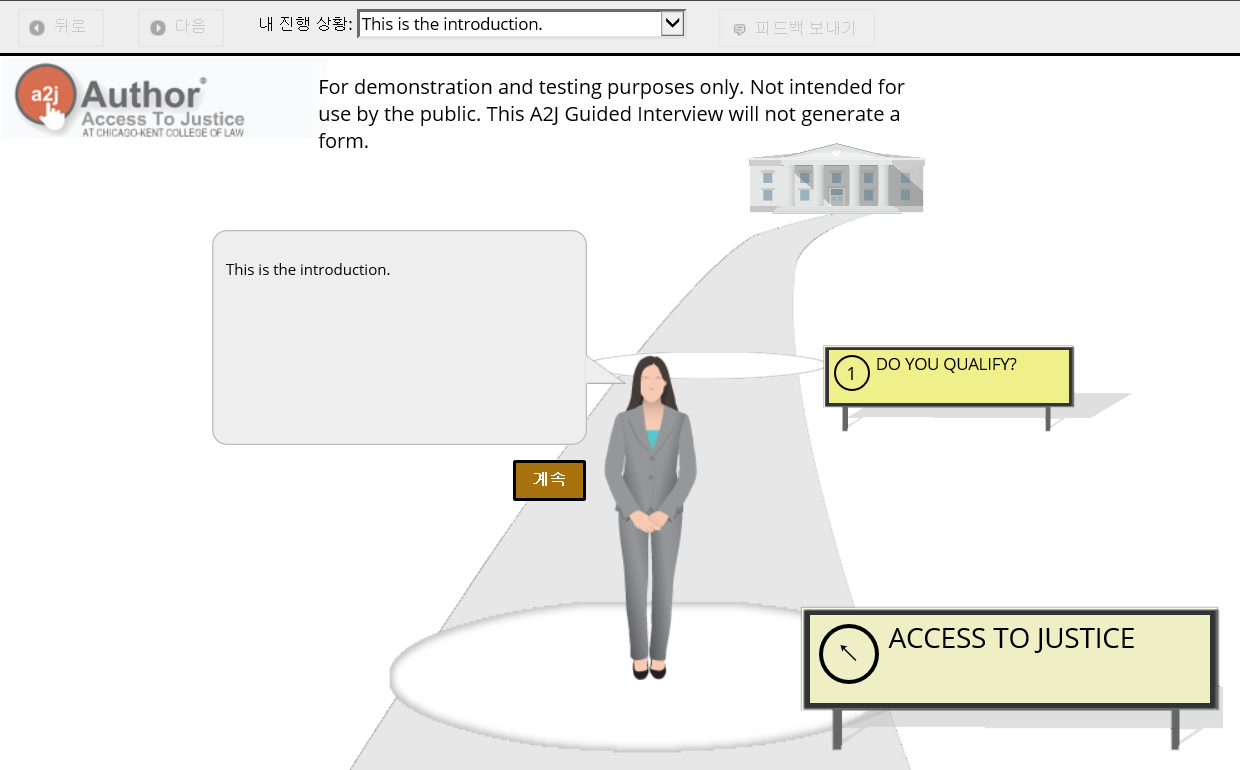
Figure 25: A2J Guided Interview® with static buttons in Korean.
Avatar
The A2J Guided Interview® interface includes twelve avatars: six Avatar Guides and six avatars for the end-users. The Avatar Guided help provide the end-user of the Guided Interview access to justice by walking the end-user down the path of questions leading to the courthouse (or alternative graphic). End-users, so long as they have been provided the option to make a selection for gender, are provided their own Avatar which accompanies the Avatar Guide down the path to justice.
In the About tab you have the option of selecting either “Avatar 1,” “Avatar 2,” or “Avatar 3” for the Avatars (Figure 26). The color selection will affect the Avatar Guide and the end-user’s Avatar. You also have the option of choosing a “Female” or a “Male” Guide Avatar (Figure 27).To view the avatar images that are used in the software, see Appendix B.
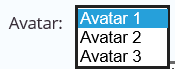
Figure 26: Avatars colors: “blank” or “tan.”
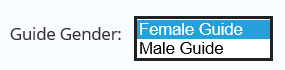
Figure 27: Guide Avatar gender selection.
To avoid having the Avatar Guide walk alone beyond the first or second question in your Guided Interview, it is a good idea to include a question that requires the end-user to select gender. In addition, it is important to use the variable recognized by A2J Author® for setting the Avatar’s Gender: “User Gender.” For a tutorial on this subject, please see: http://old.a2jauthor.org/drupal/?q=node/177
Branding Logo
The “Branding Logo” allows organizations publishing A2J Guided Interviews® to add their program’s logo to the bottom right-hand corner of A2J Guided Interviews®. If you wish to add a branding logo to your interview, simply click on the upload button under the Branding Logo field (Figure 28). Then browse for and select the desired branding logo file.
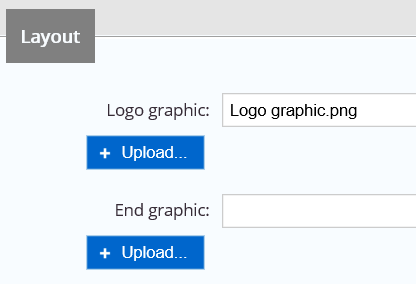
Figure 28: Select the upload button to browse for and select a branding logo for your Guided Interview.
Please note that parameters do apply to the format of the logo graphic, as follows:
-
120 x 120 pixels
-
alpha transparency
-
.jpg, .png, or .gif, (Note: To browse for all types of files, be sure to type “*.*” for the file name after you have selected the yellow folder to browse.)
If the figure is larger than the above parameters, then it will be cropped automatically. An example of a figure that properly fits within the parameters is pictured in Figure 31, below.
End Graphic
The traditional destination in an A2J Guided Interview® is a courthouse (see Figure 29 and Appendix B). That graphic can be changed. An alternative graphic may be more suitable if a Guided Interview is to be used in the context of online intake interviews or other non-court related forms (like food stamp applications.)
If you wish to retain the traditional courthouse graphic file, you do not need to attach any graphic file. However, if you wish to choose an alternative graphic to the traditional courthouse, simply click on the upload button under the End Graphic field (Figure 30).

Figure 29: Traditional A2J Author® courthouse graphic.
Then browse for and select the desired end graphic file (Figure 30).
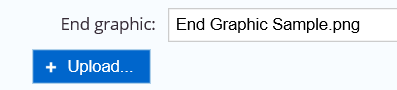
Figure 30: Select the upload button to browse for and select an end graphic for your Guided Interview.
You can design your own graphic from scratch or you can design a graphic using the courthouse graphic as a template which is available in the Starter-Kit download on old.a2jauthor.org.
The following parameters are required for an alternative graphic:
-
990 x 600 pixels maximum
-
500 x 300 pixels minimum
-
alpha transparency
The pixel sizes are necessary so that the graphic is properly centered over the roadway (Figure 31). And, the alpha transparency is needed so that the background of the graphic does not cover up the horizon or the roadway.
PLACE HOLDER FOR NEW GRAPHIC OF END GRAPHIC THAT ISN’T COURTHOUSE
Figure 31: Template graphic centered over roadway.
To help you get started with your own graphic, the A2J Author® Starter-Kit installation includes a template graphic: a .png (portable network graphic or “ping”). The template is stored in the sub-folder entitled “End Graphic Sample.” The template graphics includes a sign styled in the same fashion as the signs alongside the road in the interview interface. They also include a legal aid logo and text which can be modified.
To edit the graphic, open the file in a graphic editing program such as Photoshop®. The template graphic is already formatted as 900 x 250 pixels, so no adjustment should be made as to size. You will want to save the graphic “for the web” as a PNG-24 or PNG-32 type file, and make a selection for transparency.
Of course, it is not necessary to begin with the graphic template provided. You can use your own graphic, so long as it meets the parameters listed above.
Revision History
The Revision History field collects version information. The default setting for the Current Version field is the date you created the Guided Interview file. This information too is generated in a Full Report. If you wish to pass around the interview in either report form or electronic form for peer review, it can be helpful to have a version number assigned to ensure that any comments received are relevant to the then-current round of revisions. For more on working with reports see the chapter entitled “Reports Tab.”
The Revision History field also contains a Revision Notes section. This is a good place to reflect dates and authors of past versions of the interview (Figure 32.) You may also want to specify what was revised in the latest version, thereby keeping track of your revision process. Adding this documentation can be especially helpful if you will not be working in the Guided Interview on a daily basis.
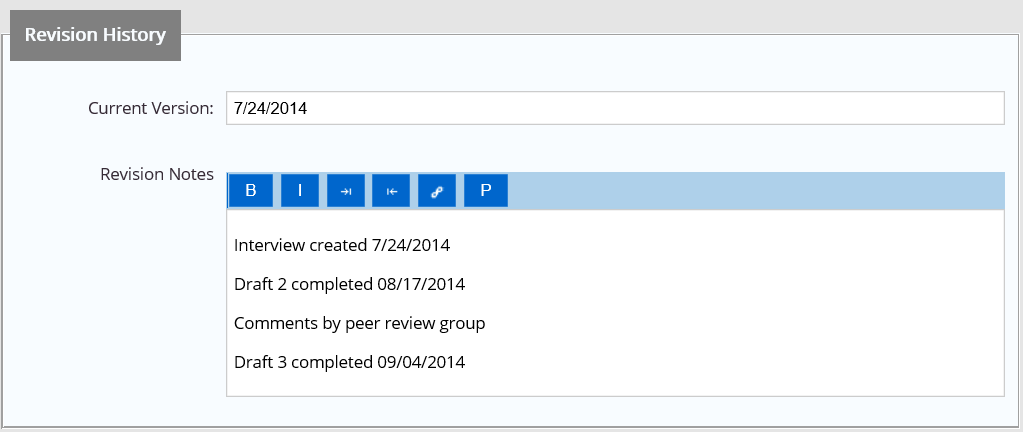
Figure 32: About tab with Revision History completed.
Authors
The Authors field collects the names of those who have contributed to the Guided Interview. The default setting for this field is “Anonymous.” Like the above items of metadata, authorship information is included in any Full Reports generated under the Report tab. It may be helpful to those within your organization to know who last worked on the Guided Interview.
The LHI server hosts HotDocs® templates and A2J Guided Interviews® for Legal Services Corporation-funded legal aid organizations and courts so that these templates and Guided Interviews may be served up over the web. The LHI server also provides a contributor portal so that the participating organizations can share work. If your interview will be made available to others, the authorship information is helpful. More information is available at www.lawhelpinteractive.org.
The Authors field allows you to add the author’s name, title, organization, and email address. You can add up to 12 authors per A2J Guided Interview.