This Appendix is intended to serve as a quick reference to the images used in both the online A2J Guided Interview® interface and A2J Author® interface. You will find images for each type of Avatar that can be used in an interview and an image of the default end graphic. In addition, you will find a detailed diagram of each of the “Tabs” in A2J Author®: Interview, Variables, Steps, Questions, Reports, Preview, and Upload. Diagrams of certain pop-up windows are also provided, including the Variables Information window, and each of the Tabs in the Question Design window.
Avatars

Figure B1: Female and Male Avatar Guide Selections
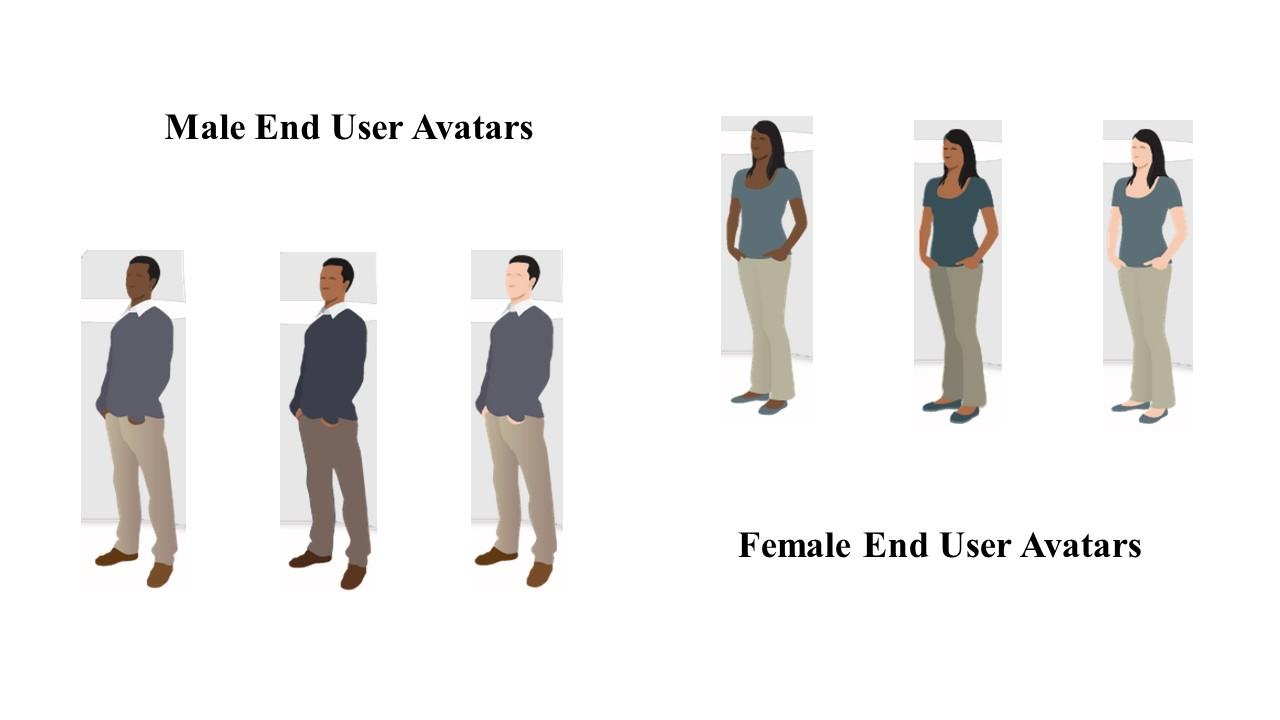
Figure B2: Female and Male Avatar End User Selections
End Graphic
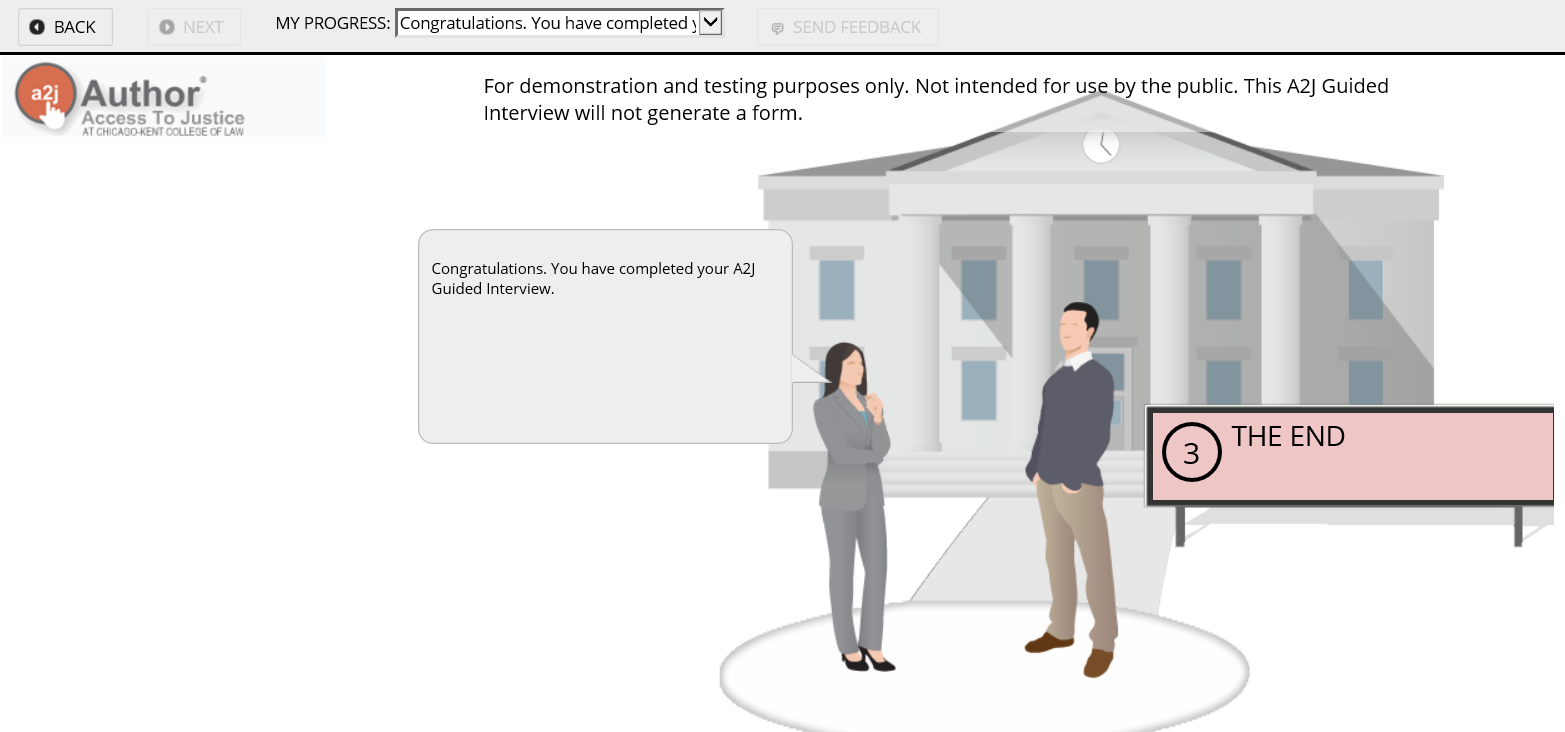
Figure B3: The standard A2J Guided Interview Courthouse image.
Interviews Tab
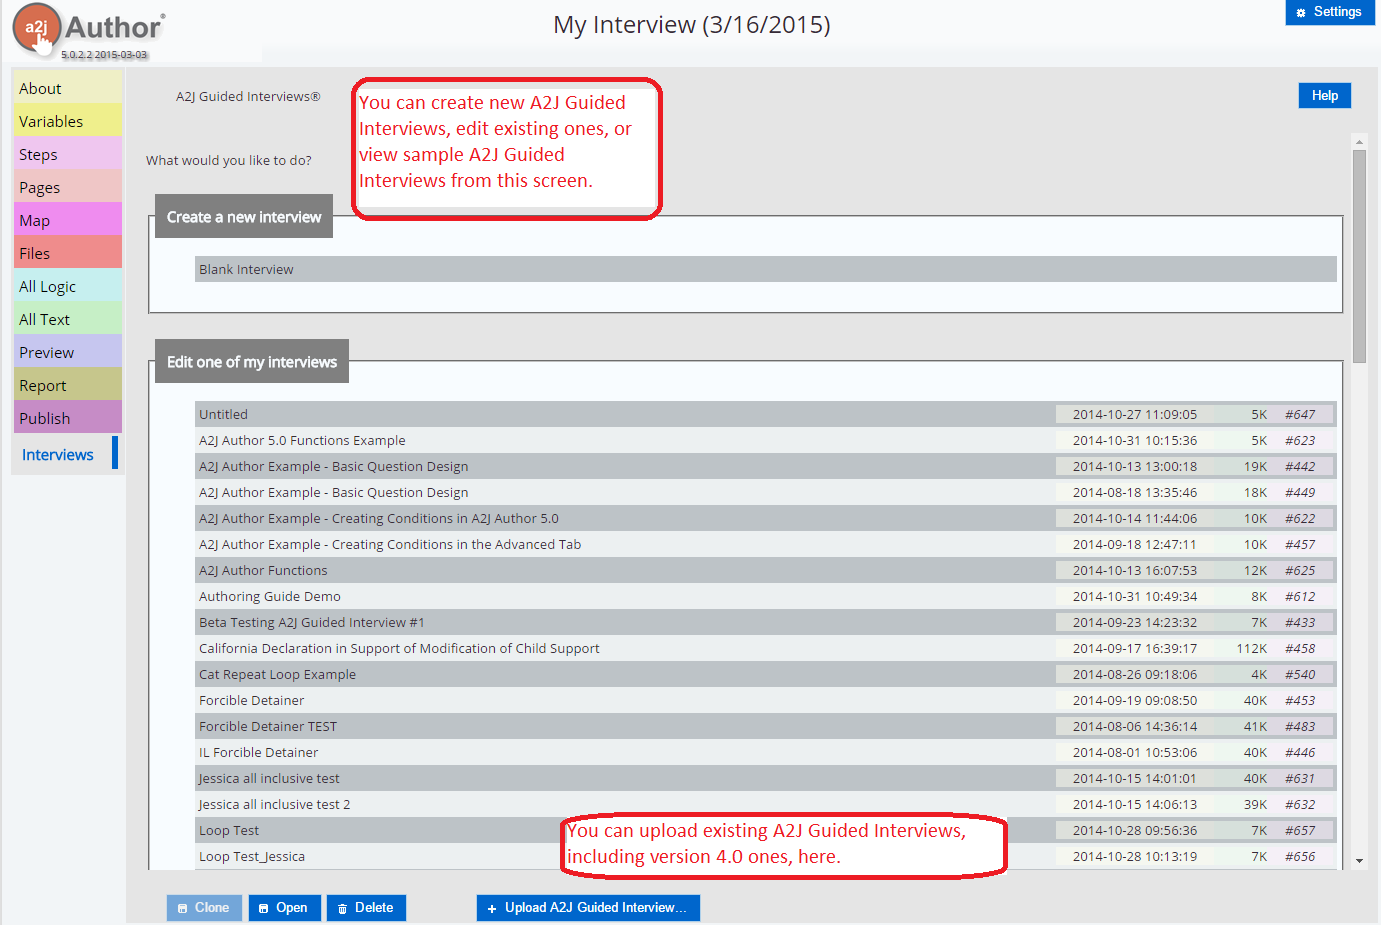
Figure B4: The Interviews Tab (a.k.a. the Startup Screen)
About Tab
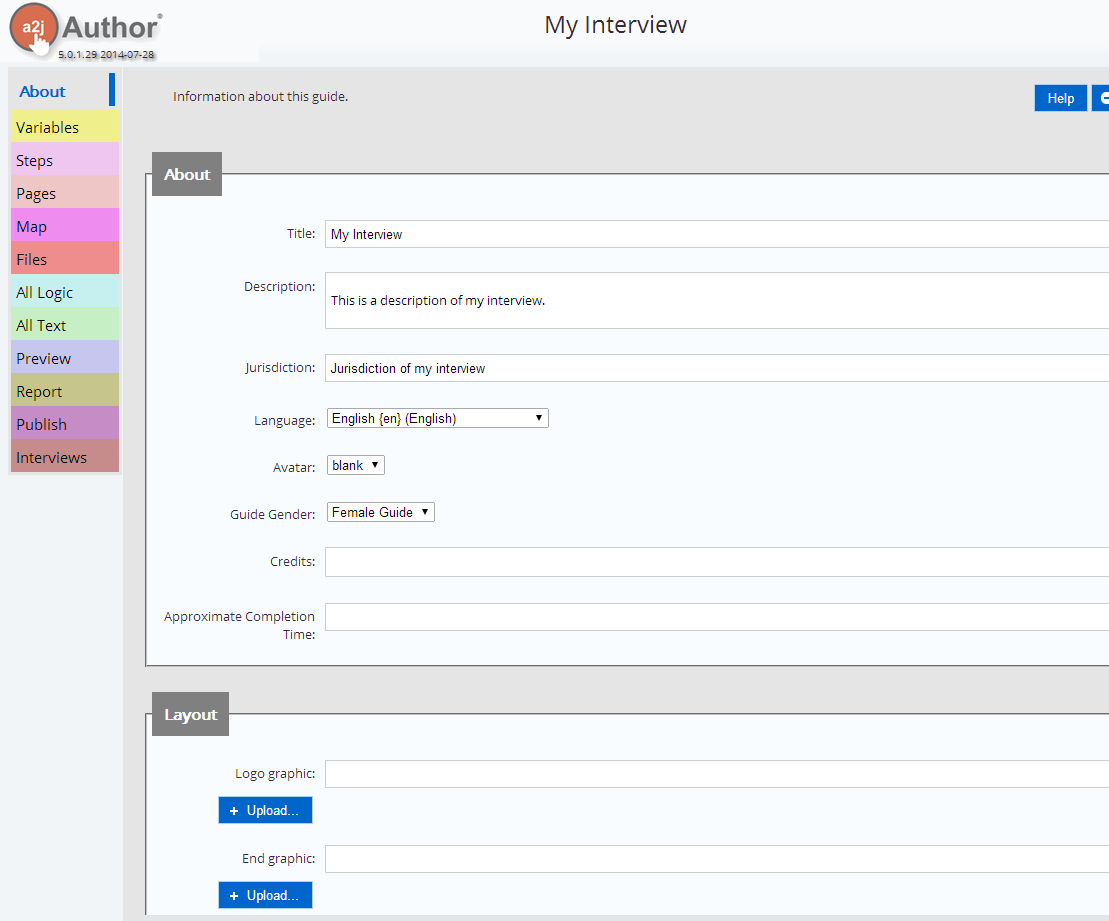
Figure B5: About Tab, screenshot 1
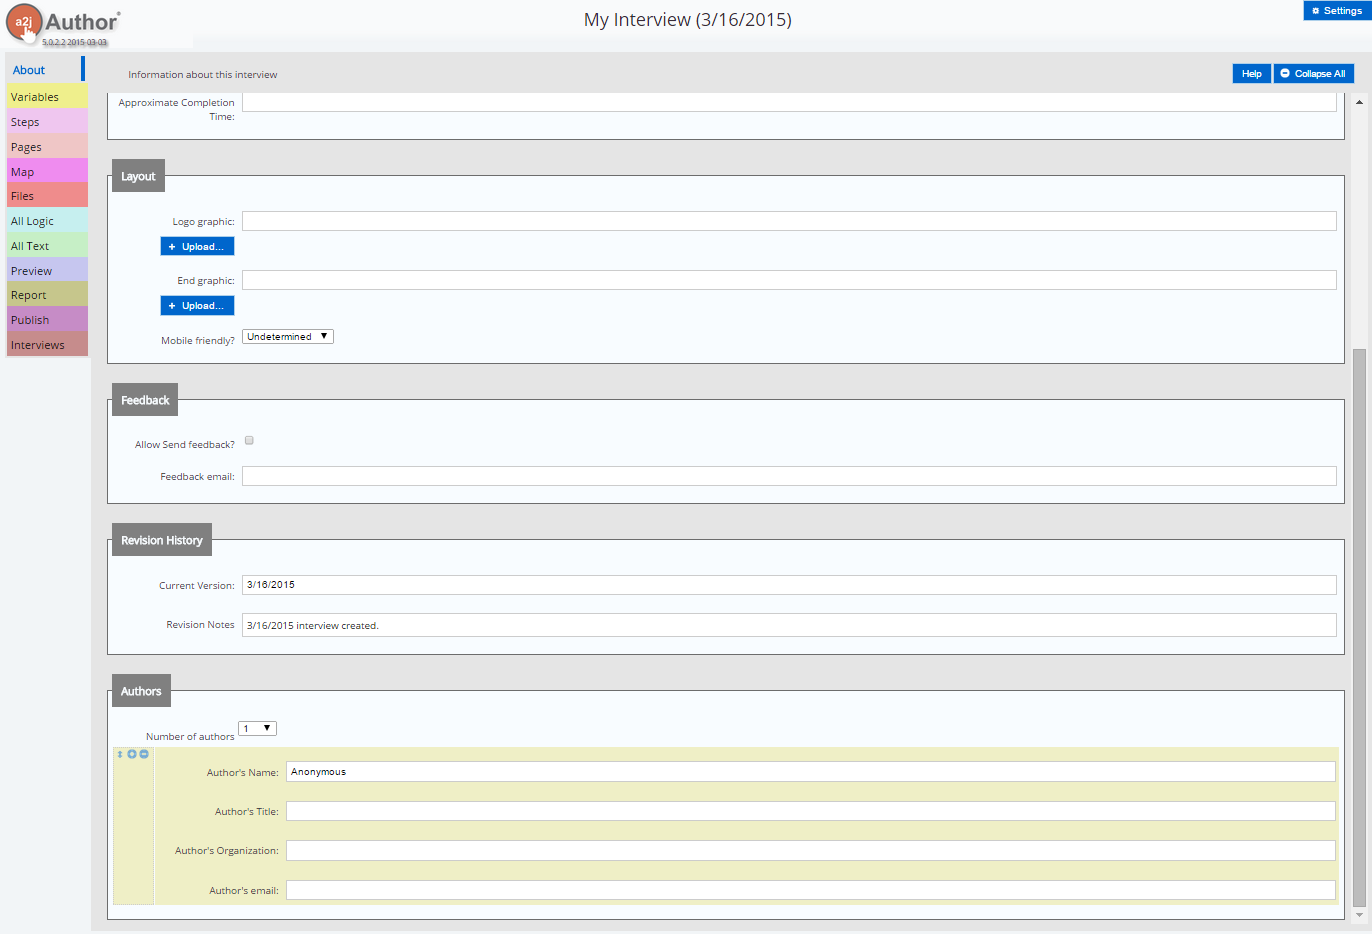
Figure B6: About Tab, screenshot 2
Variables Tab
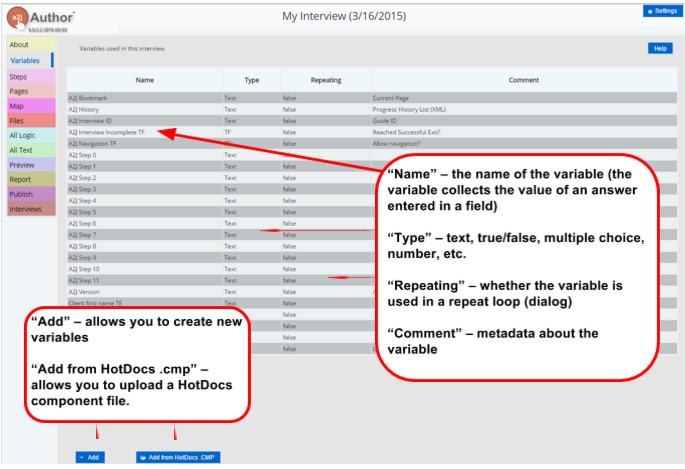
Figure B7: Main Variables Tab

Figure B8: Variable Information Pop-Out Window
Steps Tab
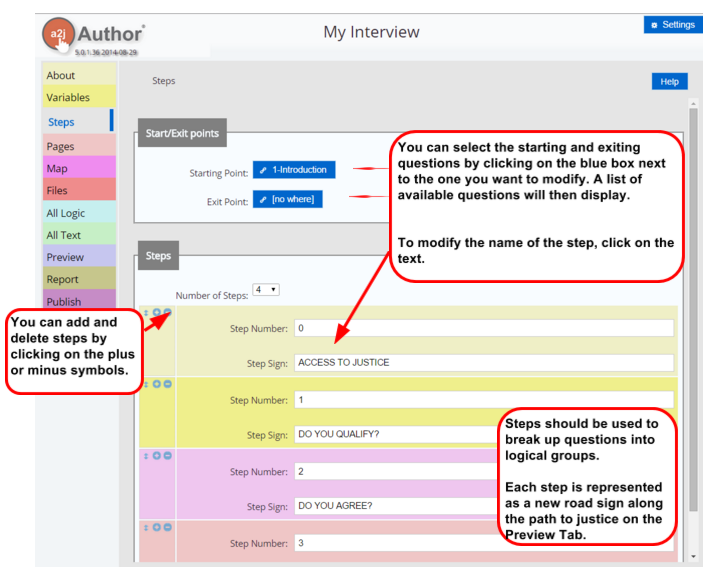
Figure B9: The Steps Tab
Pages Tab

Figure B10: Pages Tab; this section is new in version 5.0. It is similar to what existed on the Questions Tab in version 4.0.
Map
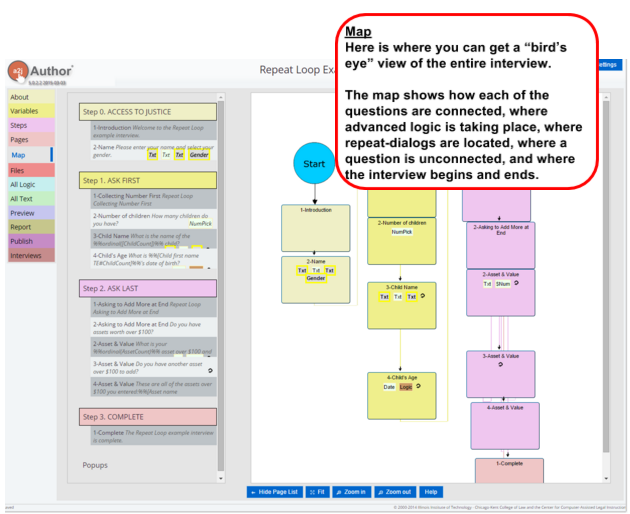
Figure B11: The Map (called a Flowchart in A2J Author 4.0)
Question Design Window
The version 5.0 question design window is no longer broken into separate tabs. It is all contained in one pop-up window. The following screenshots will show you the various components of the question design window. To access them in A2J Author, you simply need to double click on the question name from the Pages Tab or Map Tab or click on the question icon on the Map Tab.

Figure B12: Question Design Window, screenshot 1

Figure B13: Question Design Window, screenshot 2. If you continue scrolling in the question design window, you can see these features.

Figure B14: Question Design Window, screenshot 3. If you continue scrolling in the question design window, you can see these features.
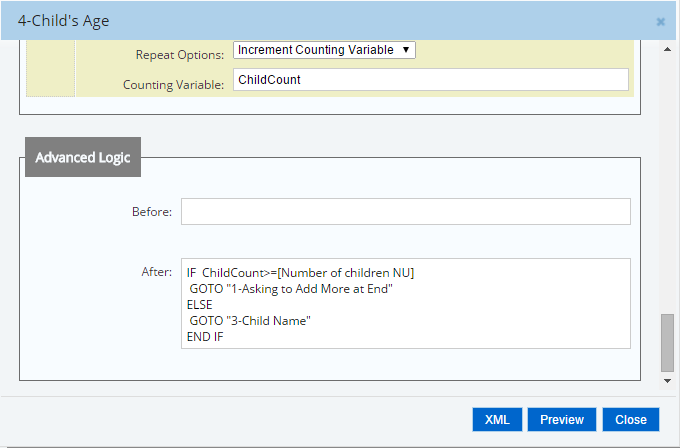
Figure B15: Question Design Window, screenshot 4. If you continue scrolling in the question design window, you can see these features. Logic can be inserted to run before the question is asked to the end user or after the end user clicks the “Continue” button. If it is run before the question is displayed and the action is to skip the question, that question will not be displayed to the end user. If it is run after the user presses “Continue,” then it will be shown to the user every time.
Files

Figure B16: Files Tab
All Logic Tab
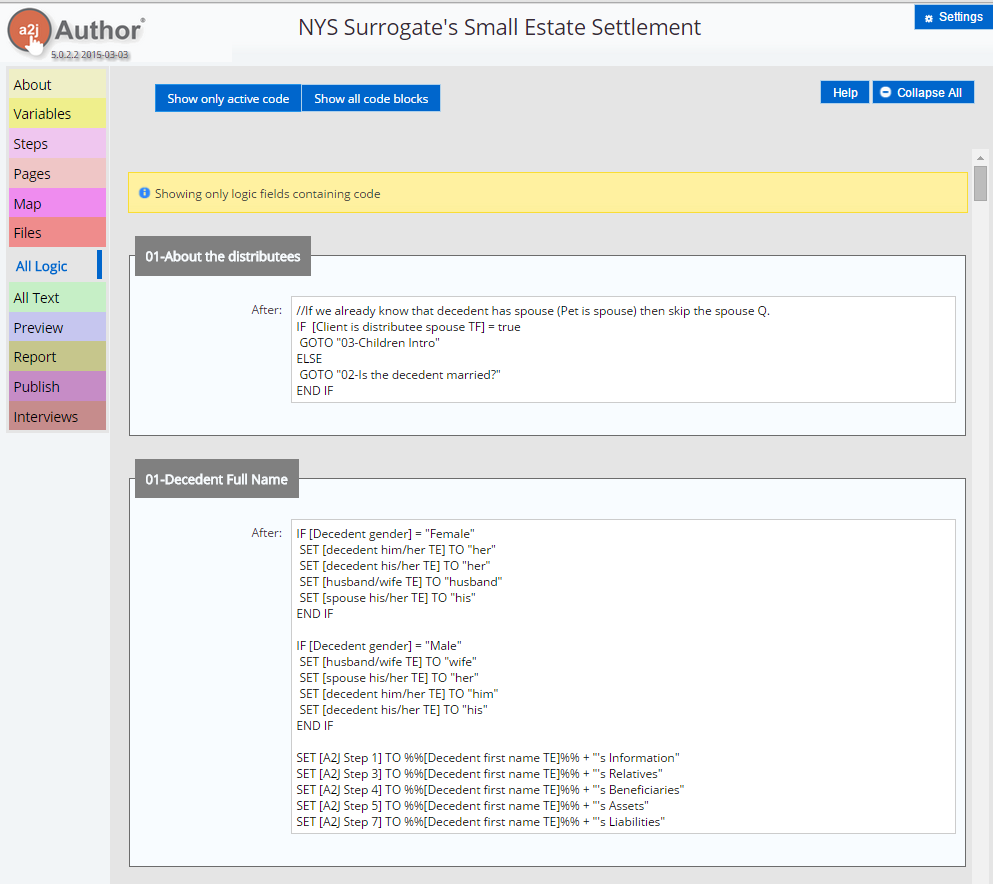
Figure B17: All Logic Tab
All Text Tab
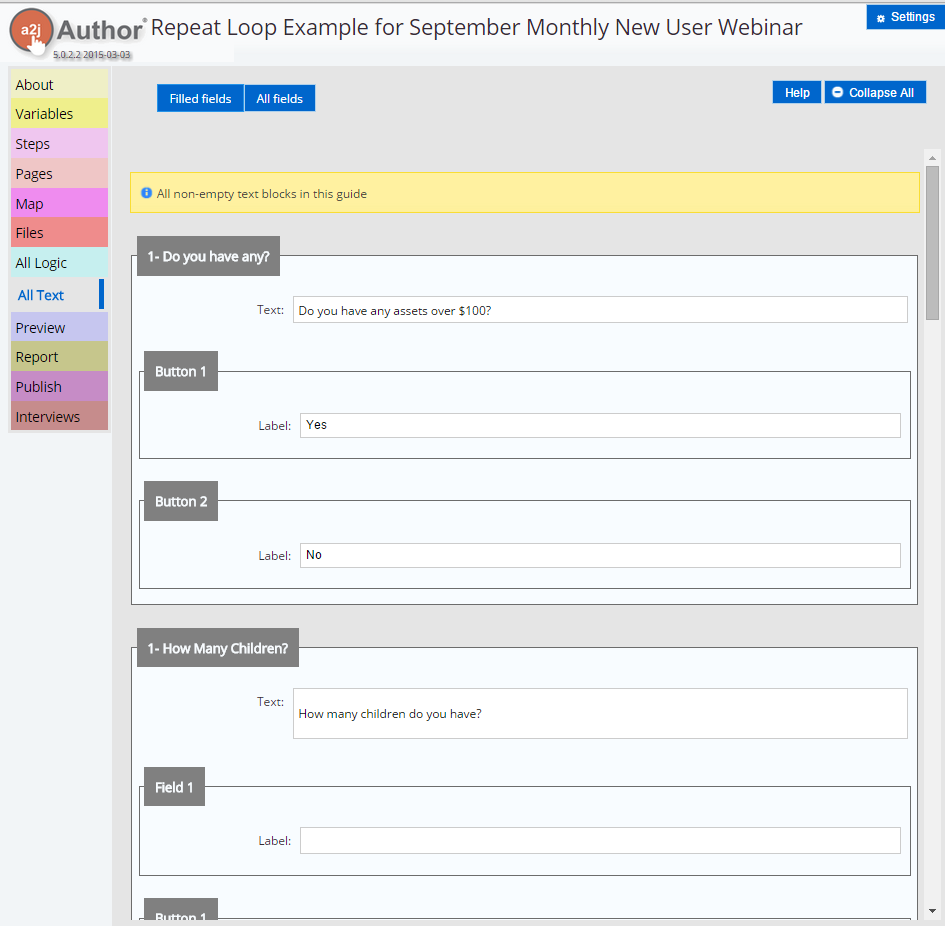
Figure B18: All Text Tab
Report Tab

Figure B19: The Report Tab
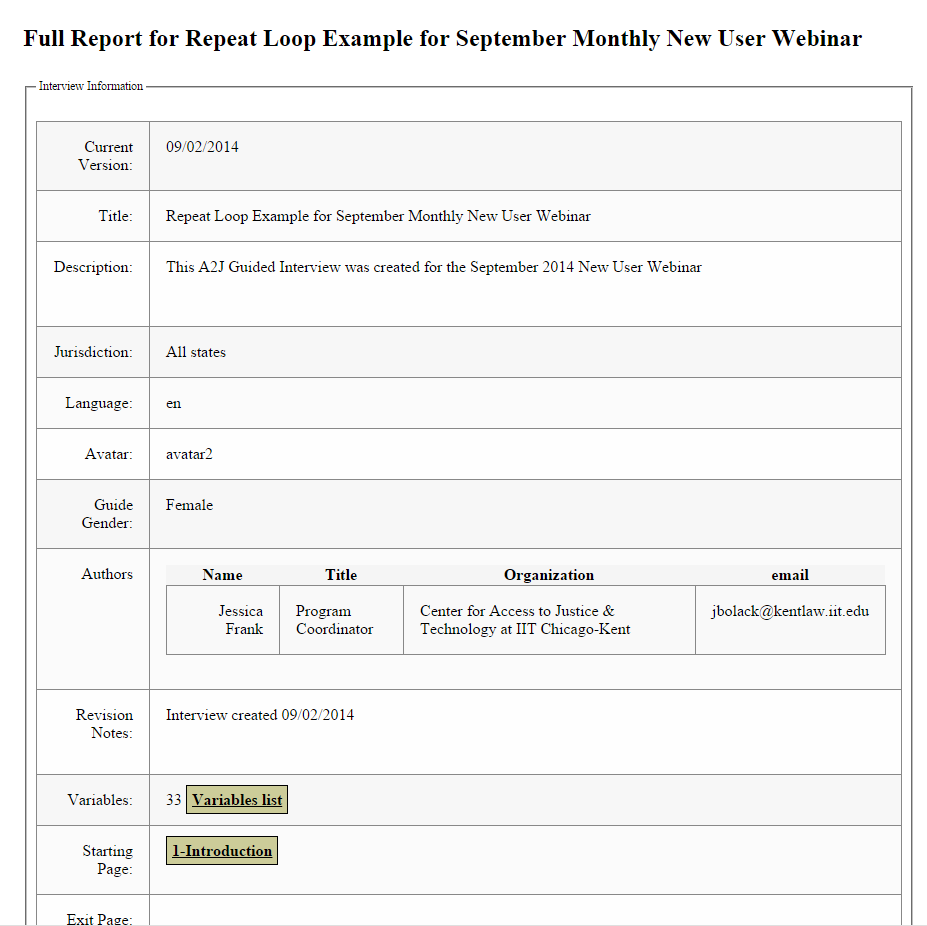
Figure B20: Sample Full Report

Figure B21: Sample Readability Score at the bottom of a Full Report
Preview Tab

Figure B22: Preview Mode: How the A2J Guided Interview looks to the end user.

Figure B23: Preview Mode with Scripting Panel open. Keep the scripting panel (debug panel) open while previewing to monitor whether the variables are collecting the values entered in the fields and the logic is working correctly. You can open the scripting panel by clicking on the variables/script button at the bottom of the screen or by clicking the A2J Author logo at the top.
Publish Tab
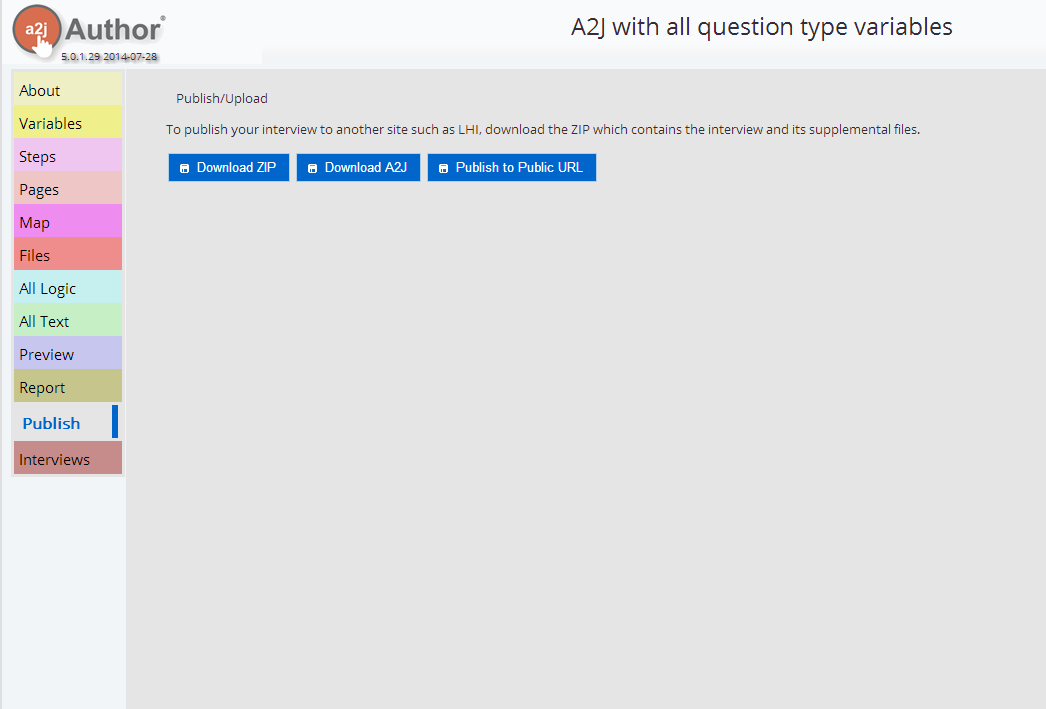
Figure B24: The Publish Tab